Tuesday, 26 July 2016

So its been a LOOONG while since my last post....but recently I have got a new job, which has spurred me into action given that I needed to move about half of the Vixen out of my work cupboard!!!

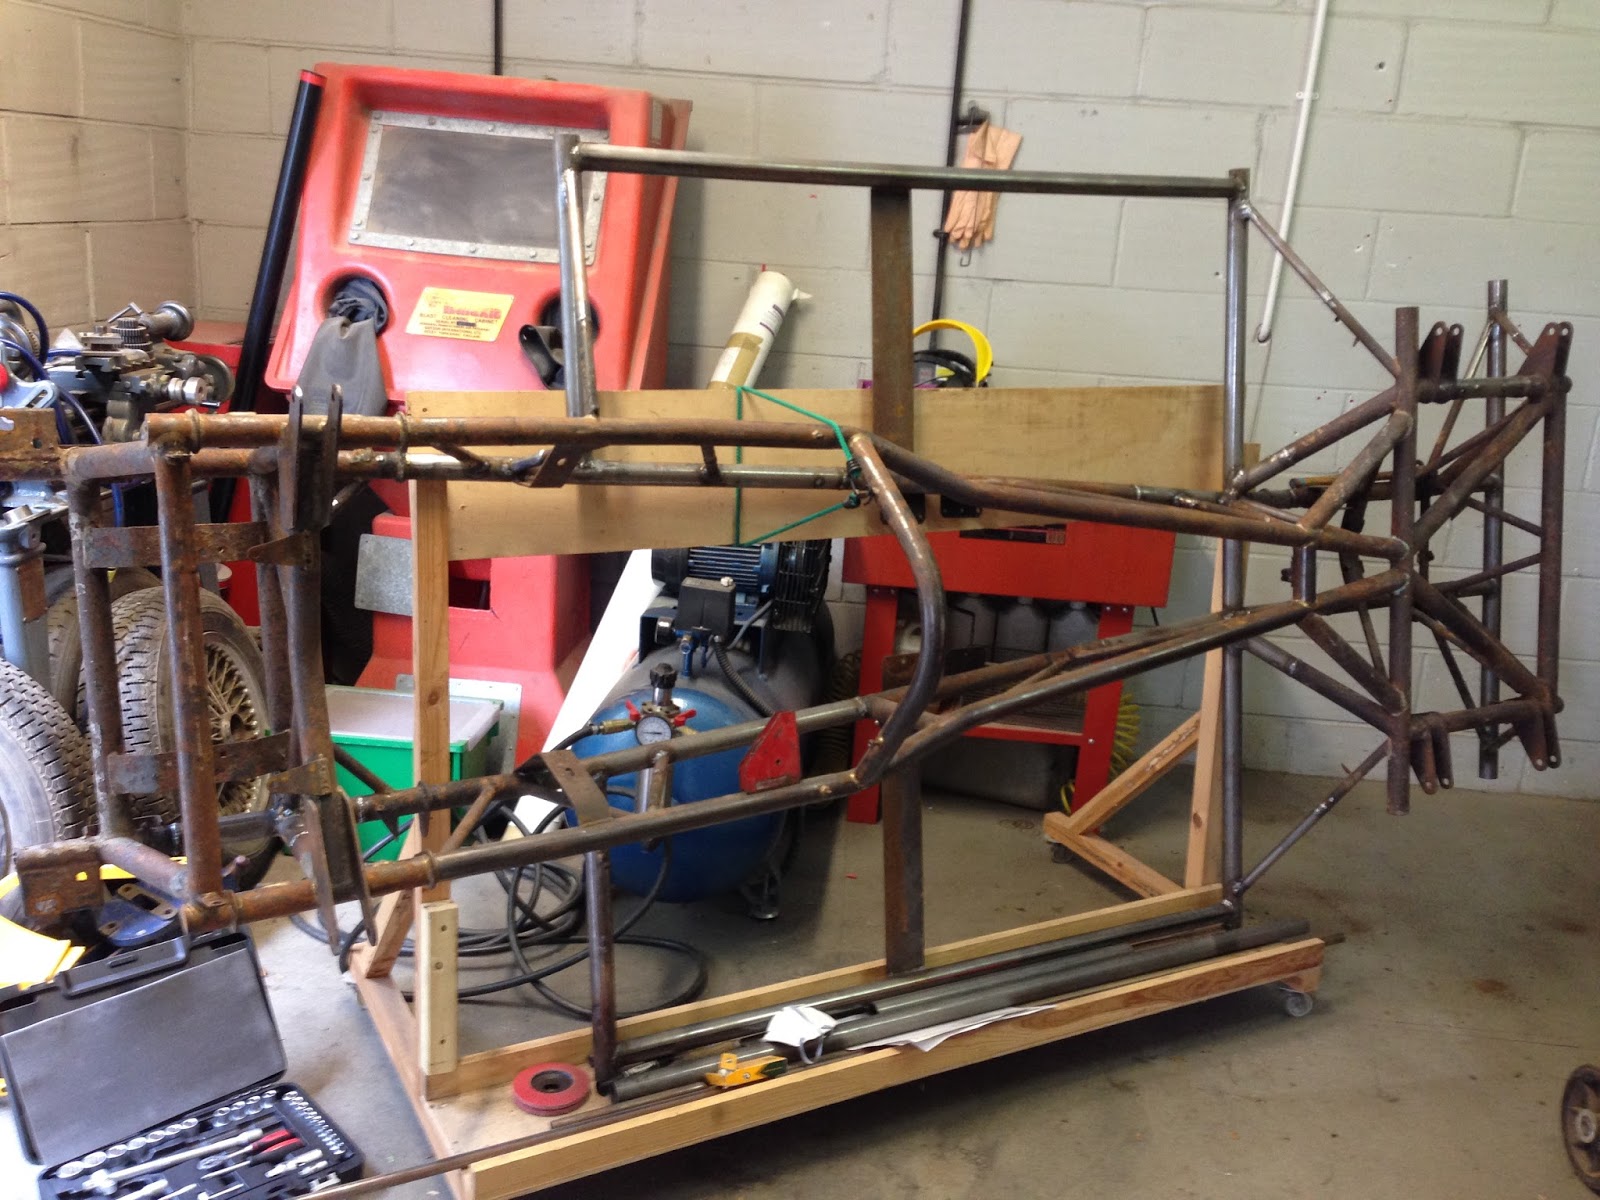
I finally finished re-welding all the little chassis tubes (all internally sleeved), re welded the suspension brackets fabricating new brackets where necessary...


Under my boss's recommendation, I then loaded the chassis into the school maintenance van and took it to the amazing H & S powder coating ltd in Latchingdon, where it was blasted and then primed with high zinc primer.

Before...

And after....WOW!!!

You can clearly see the highly skilled brazing joins...seems like a shame to cover them up!!

High zinc primed


I cant wait to see it in its new powder coated finish on Friday when I pick it up!!! and in the meanwhile I have also been building a new garage to house the TVR. The old one had some serious stress cracks and a bad damp problem....not conducive to keeping a classic car alive.....so it had to go.

Here is the new build, starting with a layer of concrete blocks laid on edge and then the whole floor coated with 3 coats of Wickes liquid damp proof course.....
Framed with reclaimed 2 x 4's

Back wall boarded with OSB wrapped both sides in vapour membrane and clad with feather edge

All walls done

Roof trusses in position

Double glazed windows fitted

Roof sheeted with 18mm OSB and felted
Next stop - floor screed, lino floor, wiring for power and lights, insulation, internal ply lining and refitting the door.....lots still to do!

Friday, 28 August 2015

Finally some more chassis progress!!!

So its been a very long while!!!

School has been keeping me REALLY busy and although I managed a bit of welding earlier in the year, I felt like it was such little progress it didn't really warrant a post. Still...I spent a day yesterday busily welding on outriggers and connecting up all the small gauge tubing.
Both outriggers welded on and support tubes connected up
All the little tubes!!! each one has to be internally sleeved with smaller tubing and then seam welded, drilled either side and rosette welded. going is slow!

Particularly tricky bit!

All the passenger side tubing is now done!!
And on to the driver side...
Lots more small tubes to go!!


Monday, 3 March 2014

Starting to join up all the little tubes!

Well....it's been a while and I've been busy with some of my other projects! But managed an afternoons worth of welding during half term, where I started to re join the smaller diameter tubing.

And yes, every single one has to have an internal sleeve
which is welded at the seam and rosette welded either side
of the join and on both sides of the tubes!!!

Not very pretty at the moment, but I assure you it will all
clean up (my wire brush grinder is not working today :(
Oh Lord, the angles.....the hundreds of angles....
So one afternoon later, one back quarter all tacked back together. I'm going to wait to seam weld in case I need to do some levelling corrections when I've got it laid flat again!


Tuesday, 3 September 2013

Just a little bit of welding today!

Ahh the new school year has begun!! didn't manage more than the 2 full days work on the chassis during the summer holiday, but did manage to squeeze in a bit of cutting and welding in after school today!!

This needs doing on the other side as well!!!


Thought I was being clever by grinding the brazed joint back to the original "birds mouth" joint

 
But the weld to the "birds mouth" is not good.....guess I just have to cut that out and weld in new (sigh!)


So not a lot of progress, but not too bad for an hours tinkering. I have now sourced some new small gauge tubing for the triangulation struts, but have nearly run out of the 1.5" stuff.........Naively I thought that 6m would be enough, but I've pretty much used it all up and haven't even made the new outrigger frames up yet!!! TO EBAY!!!!
 
 
Once all the welding is complete, I think I might have to dig deep and have the whole chassis sand-blasted (sadly its too big to fit in the school's blast cabinet!). It will undoubtedly be expensive, but I think it'll be worth it given the amount of time it would take to treat and remove all the surface rust and dirt and gunk by hand....

Thursday, 8 August 2013

07/08/13 Weldathon part 2!!

Ok,

I managed a second day of work on the TVR chassis which largely consisted of find a rusty bit, cut it out, weld in a new bit, move on to the next rusty bit!

Left hand diagonal support offered up


And right hand too!
 
 
New rear cross member and supporting tubes are held in place with bungees prior to tack welding
 
 
 Freshly welded!
 
 
Clean and shiny!!!


Close-up...not the best welding in the world but I think it will do...

 
Rear cross-member welded in place


The next chunk I've cut out....gulp!
I'm going to have to order some more 1.5" tubing, I've nearly used all of the 6 metres I originally bought! Will also need to purchase some of the smaller diameter tubing to replace the cut away triangulation struts.


All in all another very productive day's work!! Both cross-members were carefully levelled before final welding.....lots of measuring, checking and re-checking...


Wednesday, 31 July 2013

30/7/2013 Chassis Weldathon Begins!!!

As a Design and Technology teacher (with a VERY understanding boss who also likes classic cars!!)
I am fortunate in that I was, at the beginning of the summer holiday, able to trailer the TVR chassis into school, where I can work on it in a proper engineering workshop, with a MIG welder far better than my one at home....

So carefully, with the chassis upside down on trestles, the rusty lower chassis tubes were cut and replaced one at a time (to maintain geometry). All new tubing was internally sleeved and rosette welded as well as seam welded. This is the correct way to join tubing end to end.


The tubes forward of the outrigger cross tube were replace one at a time..


Before the rotten cross tube and tube sections behind were cut out.


Wow that's a lot of tubes to reconnect!


The new outrigger cross tube was tacked into place..


Note excellent use of bungees to hold tubes together (idea cadged from the rebuild diary I photographed)


The rear suspension bracket was salvaged from the rusty section I cut out. Here it is just slid on and will be properly aligned and welded later.


You can clearly see the 2 spot welds either side of the join. These are the "rosettes" and there are 3 spaced around the tube either side of the seam weld.


Had to stop for the day here, but this joint is all ready for welding and you can see the "rosette" holes and the internal sleeve beneath. This is the system that American NASCAR engineers use to repair crashed racing cars, so it should be good enough for me!!!


All in all not bad for one afternoon's work. Quite nerve wracking cutting large chunks out, but very satisfying seeing lovely new tubes going in.


Not Quite the Beginning....

A few years back I purchased a 1969 TVR Vixen S1 with the intention of fulfilling a childhood dream and completely restoring a classic car.....every last nut and bolt!!

The Series one (S1)Vixen is quite a rare car, TVR only having made 117. There are currently only 14 known examples still in the UK and out of those less than 5 are road going and original (some having been turned into racing cars or V8 Griffith-a-likes.

So here is a quick photographic update on my progress so far....

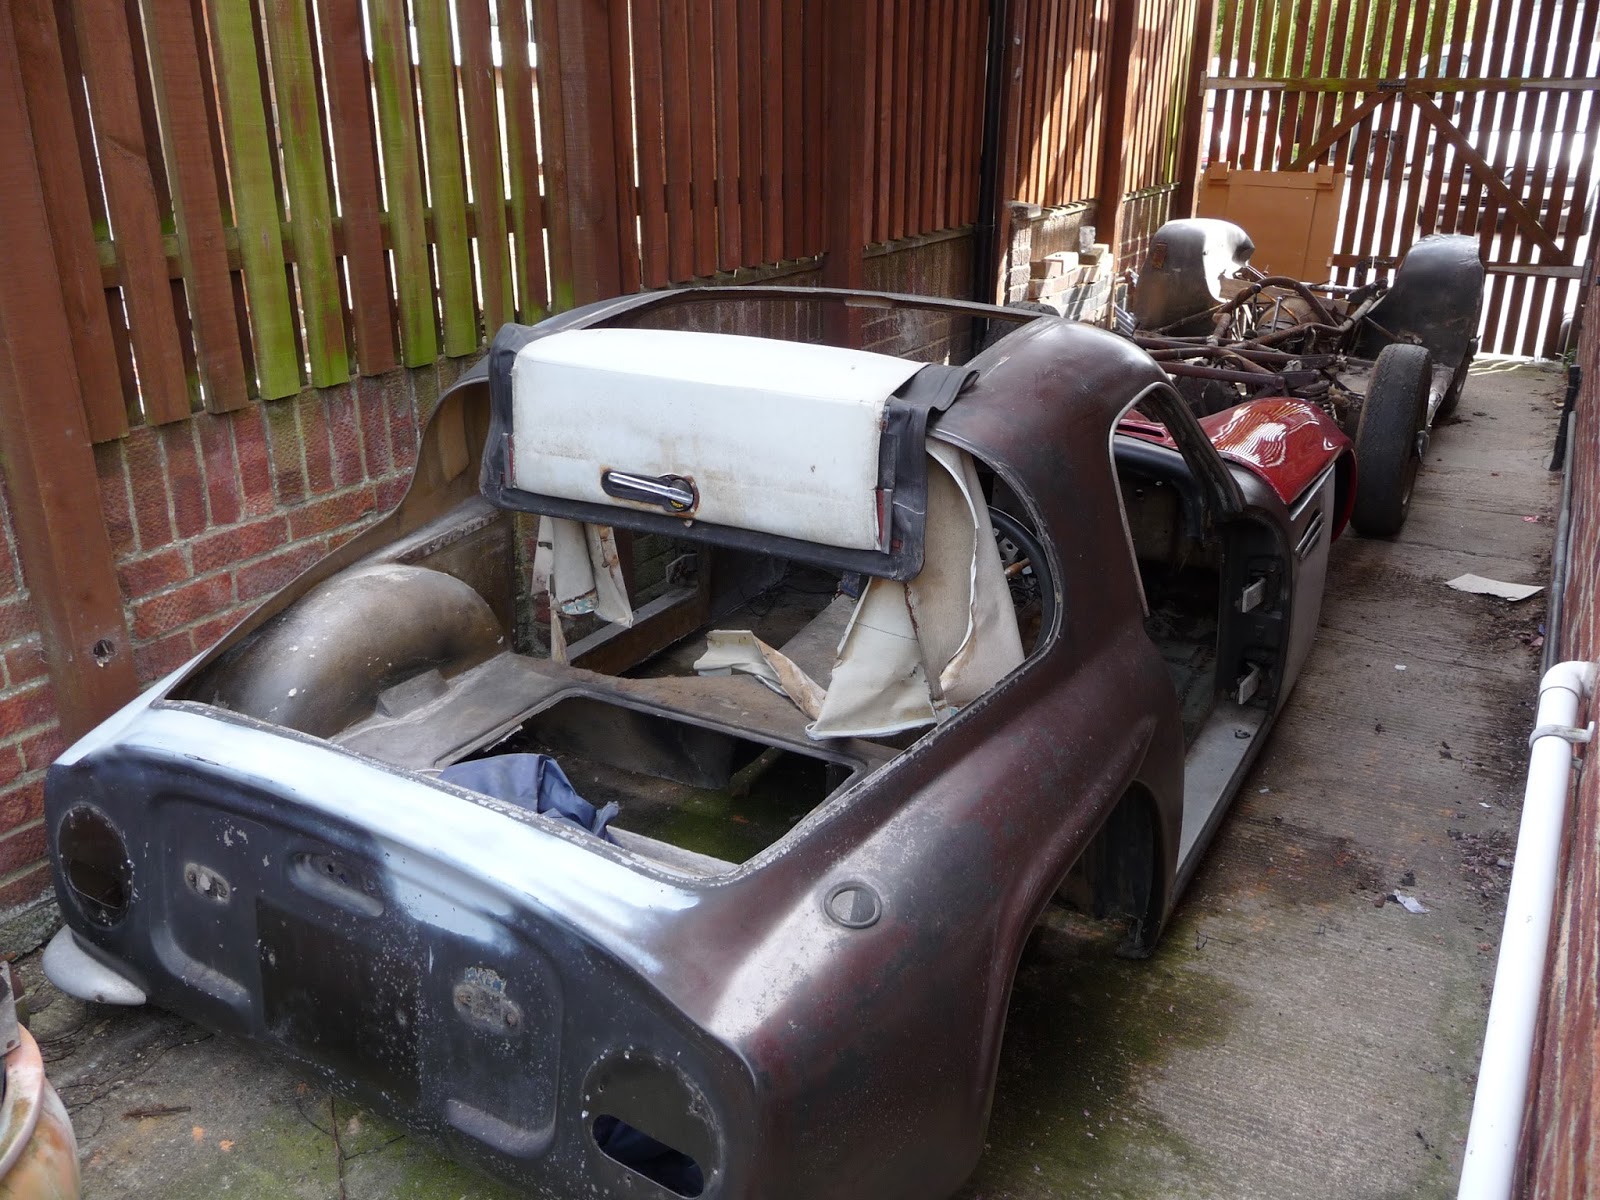
1,2,3 "Aaarrr!" Poor old thing as she was in David Gerald TVR Showroom back in 2009 . She'd had a light near-side bump resulting in a bent wishbone and a badly cracked bonnet, and then sat festering in an open barn for some 23 years!!!


On getting her home the dismantling began with the interior, including the dashboard...


There was a nest of deceased mice behind the dash!!


Having removed the dash, the rest of the interior was stripped and carefully labelled before storing all the bits, the doors and front + rear screens were then also removed....


Then after much internet research and a very deep breath, the body was cut from the chassis....TVR at this stage simply fibre-glassed the bodies onto the chassis (the engineer in me winces!)


This left the floor pans and the front inner arches still attached to the chassis. They were carefully removed (although the passenger side floor-pan disintegrated) and the chassis was stripped of everything else...


Here you can see the replacement bonnet I sourced...It apparently came from the company car of TVR's racing driver at the time Gerry Marshall!!


Having stripped the chassis, an inversion revealed the true horror.....TVR gave little or no thought to rust protection in the 60's....


Err...


Oh dear...


Blimey!...


Oh Lord.....what have I bought. There followed a lengthy period when I did very little and was quite depressed about the whole thing. However  Early in 2013 I discovered a fellow S1 owner who was publishing a highly detailed and inspiring blog. Having contacted him we now swap info on a regular basis!! Then in May 2013, I spotted a vixen S1 for sale on Ebay, that had an extensive photographic rebuild diary!! Following a phone call, the owner kindly allowed me to visit and photograph the diary, which has proved extremely useful and has spurred me back into action....