Monday, 22 April 2019

Rear End + Propshaft done and next the Gearbox

Happy Easter!

First the differential. After a LOT of cleaning with a wire cup brush and cordless drill followed inspection of the innards for wear, I replaced all of the nuts with stainless nylocks, using fibre washers to prevent the dreaded electrolytic corrosion between them and the cast ally diff casing.

During cleaning - about halfway through...


I drilled out the old, rubber mounting bushes and replaced them with a set of new superflex polybushes, before re-mounting the diff into the chassis and connecting up the cleaned-up driveshafts.


Looking nice with all the new shiny bits!!


Next was the propshaft, which although dirty, was in surprisingly good nick and with a quick wire brushing, degreasing and a coat of paint I refitted it onto the nose of the differential.


Before cleaning and painting

Cleaned, painted and fitted.


And so onto the gearbox! It is a Ford "Bullet" 2000E 4 speed box and was, without a doubt the filthiest thing I have dealt with so far. Nonetheless having removed the inspection covers, it transpires there is literally NO wear in the sprockets or selectors...YAY!!


So after A LOT of cleaning and degreasing, it has received a coat if paint and awaits a set of new gaskets, oil seals and a mounting rubber, before refit it to the car - not sure at this point whether to fit gearbox to engine and then both to the chassis, or gearbox in first and then engine...


There's also the small matter of the hydraulic clutch cylinder - which looks shot, but I have literally zero knowledge about these things - so some homework required on my part....

Sunday, 25 November 2018

A Minor Landmark Moment!

It's been a long time coming, but the Vixen is finally back on 4 wheels (nearly) After shortening the rear suspension pivot bars and fitting all of the wishbones and lovely new shock absorbers + springs, It was time to refit the wheels!


The front wheels have rather a lot of positive camber, but I suspect that's partially down to the chassis still being suspended on the dolly I knocked up for it (none of the wheels are actually touching the floor yet!!) and partially down to the lack of an engine's weight.

Next job is to refurbish the differential, prop shaft and gearbox and refit them. Plenty still to do mechanically, thankfully the drive shafts are already done and the engine is 80% done too!

The differential is MG front
Bolted onto TVR's own rear casting


In the meanwhile I have treated myself (yes again!) to a lovely set of 3 'eared' spinners which should arrive tomorrow...I will have to clean and give the wheels a fresh coat of  silver paint to do them justice I think...


Onwards and upwards....someday in the not to distant future I'm going to reach the point where there are NO more crates of rusty stuff to bring back to life/junk and replace....someday...

Sunday, 18 November 2018

Expense, Expensiver, Expensivest

Well another year has passed and since then bad and good things have happened with the TVR. Firstly the cracked rear uprights were sent off to a specialist welder who claimed they could be fixed.....and then promptly rang and said he'd tried and well.......they couldn't! At least I wasn't charged anything, but I had to source two newly cast uprights, which were EXPENSIVE!!!


So having had the new bearing shells pressed in by my local engineers, I proceeded to carefully tighten the drive flanges, crushing the newly installed crush tubes to the required end float. I then installed the reconditioned brake back plates and new brake cylinders, adjusters, shoes, springs and drums, along with new superflex bushes for the wishbones and upright.....ALSO EXPENSIVE!!!!


Finally I had to take a deep breath and order 6 new AVO shock absorbers and 6 springs from Adrian Venn at Exactly TVR. They look lovely but were also VERY EXPENSIVE!!!! I made my own lower pivot rods from EN14 steel, but as you can see from the photos, I need to cut them down a bit and cut some more thread on them as well as fabricate some spacers to fit between the upright and the shock absorber.


Next stop a rolling chassis!!

Sunday, 20 August 2017

Joy, Frustration, Elation and Despair

It's been a good while I know.....

Joy:
This summer saw some new ball joints for the front suspension, repainting and reassembling the majority of the front suspension, with Superflex bushes.


Very pleasing!

Frustration:
I decided that the next thing to do should be the dismantling of the rear corners, this is something that I have frankly not been looking forward to, as I have read some tales of woe surrounding the somewhat delicate TVR upright alloy castings.

After many stuck nuts and much cursing..


 Just removing the shock absorbers and wishbones was a pain! The end bolts, despite wire brushing and judicious soaking in WD40 took 2 days of levering, hitting and swearing to remove... after which almost all of the rest put up only a minimal fight. The upright itself was absolutely filthy, caked in dried greasy mud, yeurgh!

Elation:
However after lots of scraping, brushing with petrol and power wire brushing the upright looked good! No electrolytic corrosion to speak of and no broken or badly corroded studs, yay!


Despair:
However on closer inspection the pivot bar seems to be fractionally bent and worse, there appears to be what looks horribly like a crack across one of the cotter pin lugs........this is potentially disastrous and finding a replacement could be VERY EXPENSIVE!!!!!


Monday, 1 August 2016

Chassis is home

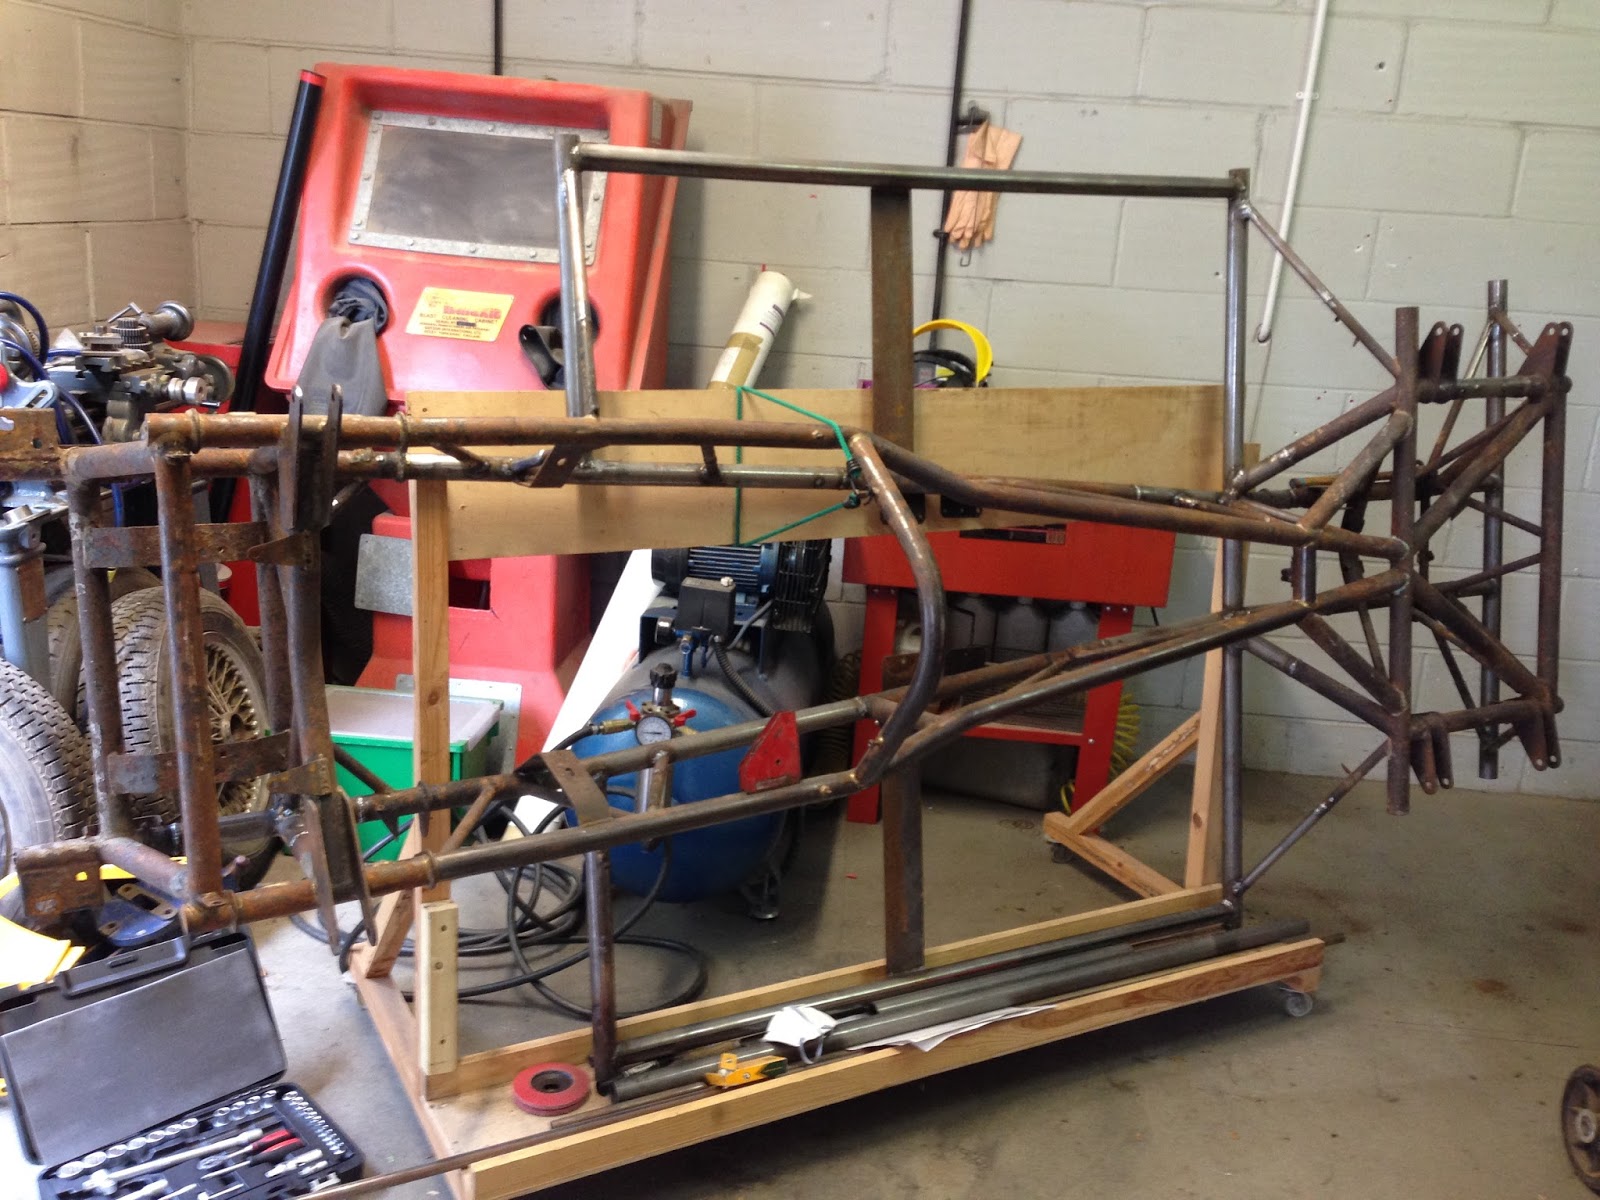
I collect H & S Powder coating and I have to say I'm very happy with the job they have done, the finish is excellent!! Having got it home, I quickly knocked up a chassis trolley which will allow me to wheel it about while the garage work continues....


I've definately built the garage big enough! This is the finished car's parking spot,,,plenty of room for workbenches, tool cabinets, lathe, pillar drill etc etc....

Next job is to squirt a load of rust proofing inside all the tubes I can...I have a tin of Noxudol 750 but need to make a sprayer thingy long enough to reach inside about 8' of tube....

Tuesday, 26 July 2016

So its been a LOOONG while since my last post....but recently I have got a new job, which has spurred me into action given that I needed to move about half of the Vixen out of my work cupboard!!!

I finally finished re-welding all the little chassis tubes (all internally sleeved), re welded the suspension brackets fabricating new brackets where necessary...


Under my boss's recommendation, I then loaded the chassis into the school maintenance van and took it to the amazing H & S powder coating ltd in Latchingdon, where it was blasted and then primed with high zinc primer.

Before...

And after....WOW!!!

You can clearly see the highly skilled brazing joins...seems like a shame to cover them up!!

High zinc primed


I cant wait to see it in its new powder coated finish on Friday when I pick it up!!! and in the meanwhile I have also been building a new garage to house the TVR. The old one had some serious stress cracks and a bad damp problem....not conducive to keeping a classic car alive.....so it had to go.

Here is the new build, starting with a layer of concrete blocks laid on edge and then the whole floor coated with 3 coats of Wickes liquid damp proof course.....
Framed with reclaimed 2 x 4's

Back wall boarded with OSB wrapped both sides in vapour membrane and clad with feather edge

All walls done

Roof trusses in position

Double glazed windows fitted

Roof sheeted with 18mm OSB and felted
Next stop - floor screed, lino floor, wiring for power and lights, insulation, internal ply lining and refitting the door.....lots still to do!

Friday, 28 August 2015

Finally some more chassis progress!!!

So its been a very long while!!!

School has been keeping me REALLY busy and although I managed a bit of welding earlier in the year, I felt like it was such little progress it didn't really warrant a post. Still...I spent a day yesterday busily welding on outriggers and connecting up all the small gauge tubing.
Both outriggers welded on and support tubes connected up
All the little tubes!!! each one has to be internally sleeved with smaller tubing and then seam welded, drilled either side and rosette welded. going is slow!

Particularly tricky bit!

All the passenger side tubing is now done!!
And on to the driver side...
Lots more small tubes to go!!